

How to install a plastic stuffing gland?
Nov 27, 2025
Hey there! I'm a supplier of plastic stuffing glands, and today I'm gonna walk you through the process of installing a plastic stuffing gland. Whether you're a DIY enthusiast or a professional in the electrical or plumbing field, this guide will help you get the job done right.
What is a Plastic Stuffing Gland?
First off, let's quickly talk about what a plastic stuffing gland is. It's a device used to seal and protect cables or pipes as they pass through a panel, wall, or enclosure. Plastic stuffing glands are popular because they're lightweight, corrosion - resistant, and cost - effective. They come in various sizes and thread types to fit different applications.
Tools You'll Need
Before you start the installation, gather the following tools:

- A wrench or pliers: This will be used to tighten the gland. Make sure it fits the size of the gland you're working with.
- A cable cutter: If you need to trim the cable to the right length.
- A screwdriver: In case you need to remove any panels or covers.
Step 1: Choose the Right Plastic Stuffing Gland
The first step is to select the appropriate plastic stuffing gland for your application. Consider the following factors:
- Cable or pipe size: Measure the diameter of the cable or pipe you want to pass through the gland. Make sure the gland's inner diameter matches or is slightly larger than the cable/pipe size.
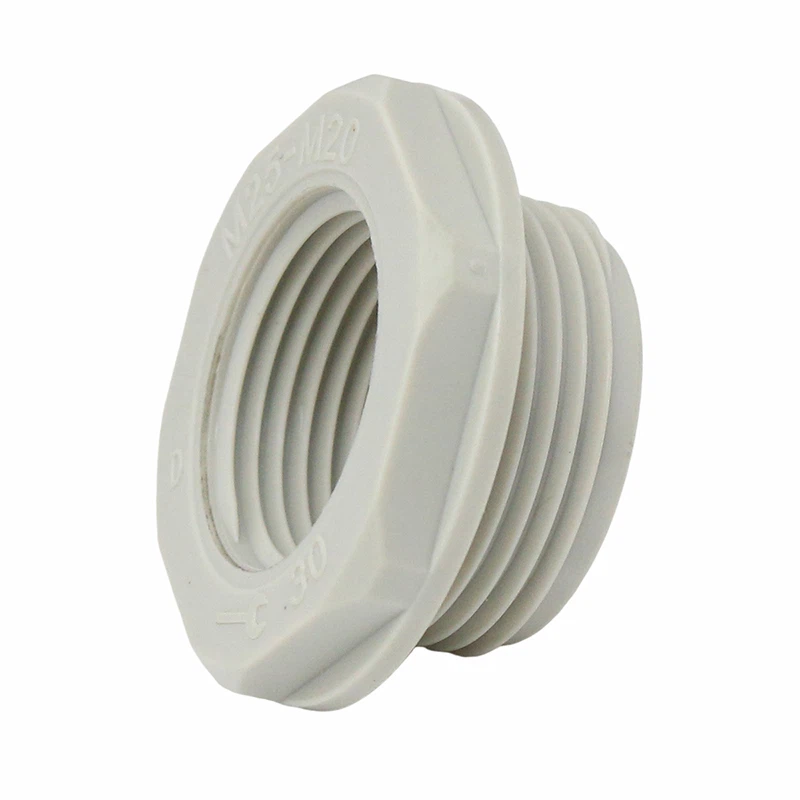
- Thread type: There are different thread types, such as PG (Panzergewinde) and metric threads. Check the panel or enclosure where you'll be installing the gland to see what thread type it requires. For example, if you're looking for specific thread - related parts, you can check out our Nylon PG Thread Dome Plug, Nylon PG Thread Reducer, and Nylon Metric Thread Reducer.
- Environmental conditions: If the installation is in a wet or corrosive environment, choose a gland made of a suitable plastic material that can withstand those conditions.
Step 2: Prepare the Cable or Pipe
If your cable or pipe is too long, use the cable cutter to trim it to the appropriate length. Leave enough length so that it can pass through the gland and reach its destination inside the enclosure. Also, make sure the end of the cable or pipe is clean and free of any debris.
Step 3: Prepare the Installation Site
Locate the hole in the panel or enclosure where you'll be installing the plastic stuffing gland. Clean the area around the hole to ensure a good seal. If there are any burrs or sharp edges around the hole, use a file to smooth them out. This will prevent damage to the cable or pipe and the gland.
Step 4: Install the Gland Body
Insert the gland body into the hole from the outside of the panel or enclosure. Make sure it fits snugly. If the gland has a locking nut, place it on the inside of the panel and start threading it onto the gland body. Use the wrench or pliers to tighten the locking nut. Don't over - tighten it, as this can damage the gland or the panel. A good rule of thumb is to tighten it until it's firm and there's no play.
Step 5: Insert the Cable or Pipe
Once the gland body is installed, carefully insert the cable or pipe through the gland. Make sure it passes through the center of the gland and doesn't get caught on any edges. If the cable has multiple wires, try to keep them organized as they pass through the gland.
Step 6: Install the Sealing Elements
Most plastic stuffing glands come with sealing elements, such as rubber gaskets or O - rings. Place these elements around the cable or pipe and inside the gland. The sealing elements help to create a watertight and dust - tight seal. Make sure they're properly seated and there are no gaps.
Step 7: Tighten the Compression Nut
After inserting the cable and the sealing elements, screw on the compression nut. The compression nut compresses the sealing elements around the cable or pipe, creating a tight seal. Use the wrench or pliers to tighten the compression nut gradually. As you tighten it, you'll feel the resistance increasing. Keep tightening until the seal is secure, but again, don't over - tighten.
Step 8: Check the Installation
Once you've tightened the compression nut, check the installation to make sure everything is in place. Pull gently on the cable or pipe to see if it's securely held by the gland. Also, check for any signs of leaks or gaps around the gland. If you notice any issues, loosen the compression nut, adjust the sealing elements, and then retighten the nut.
Troubleshooting
- If the gland is leaking: Check if the sealing elements are properly installed and not damaged. You may need to replace them if they're worn out. Also, make sure the gland is tightened correctly.
- If the cable or pipe is difficult to insert: Check if the gland's inner diameter is the right size. You may need to choose a larger gland if the cable or pipe is too thick.
Why Choose Our Plastic Stuffing Glands?
At our company, we take pride in providing high - quality plastic stuffing glands. Our products are made from durable plastic materials that can withstand various environmental conditions. We offer a wide range of sizes and thread types to meet your specific needs. Whether you need a simple gland for a small project or a complex one for an industrial application, we've got you covered.
Contact Us for Your Plastic Stuffing Gland Needs
If you're interested in purchasing our plastic stuffing glands or have any questions about the installation process, don't hesitate to get in touch. We're here to help you find the right products and ensure a successful installation. You can reach out to us to start a conversation about your requirements and get a quote.
References
- Electrical Installation Handbook: A comprehensive guide to electrical installations, which includes information on cable management and gland installation.
- Plumbing Installation Manual: Useful for understanding pipe - related gland installations and best practices.