

How to correct the misalignment of a metal stuffing gland?
Sep 26, 2025
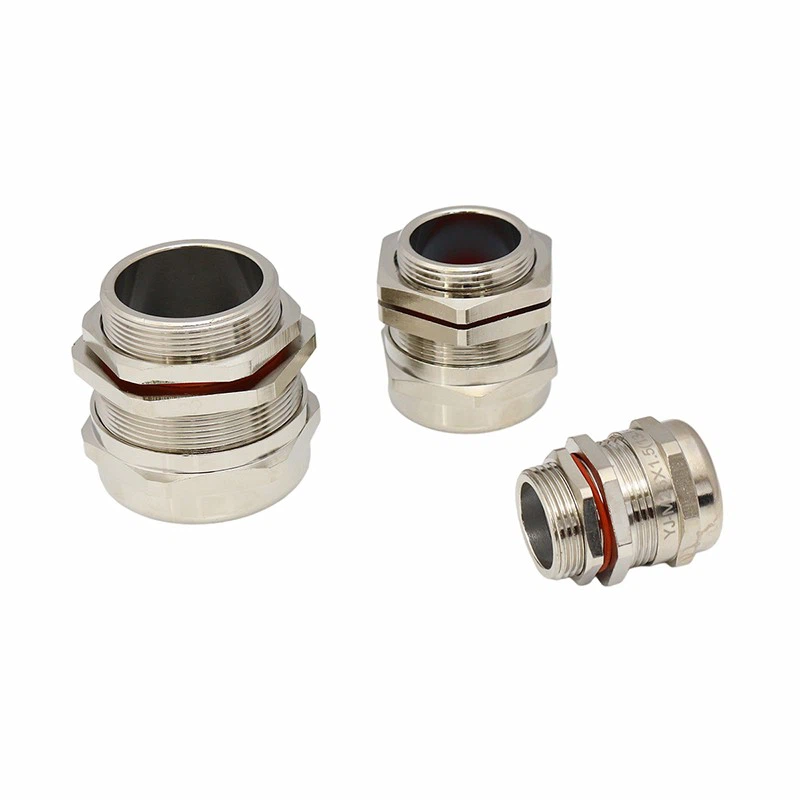
Hey there! As a supplier of metal stuffing glands, I've seen my fair share of issues with misaligned glands. It's a common problem that can lead to all sorts of headaches, from leaks to equipment damage. But don't worry, I'm here to walk you through how to correct the misalignment of a metal stuffing gland.
Understanding the Problem
First things first, let's talk about why misalignment happens. There are a few different factors that can contribute to this issue. Sometimes, it's just a matter of improper installation. Maybe the gland wasn't lined up correctly when it was first put in place, or the bolts weren't tightened evenly. Other times, external factors like vibration or thermal expansion can cause the gland to shift out of alignment over time.
When a metal stuffing gland is misaligned, it can cause a number of problems. For starters, it can create gaps between the gland and the equipment it's sealing. This can allow fluids or gases to leak out, which can be a major safety hazard. It can also lead to premature wear and tear on the gland and the equipment, which can shorten their lifespan and increase maintenance costs.
Tools You'll Need
Before you start correcting the misalignment of a metal stuffing gland, you'll need to gather a few tools. Here's what you'll need:
- Wrenches: You'll need a set of wrenches to loosen and tighten the bolts on the gland. Make sure you have the right size wrenches for the bolts on your gland.
- Level: A level will help you ensure that the gland is properly aligned. You can use a small bubble level or a laser level, depending on your preference.
- Shims: Shims are thin pieces of material that you can use to adjust the alignment of the gland. You can buy shims at most hardware stores, or you can make your own out of cardboard or metal.
- Measuring Tape: A measuring tape will help you measure the distance between the gland and the equipment it's sealing. This will help you determine how much adjustment is needed.
Step-by-Step Guide
Now that you have your tools, it's time to start correcting the misalignment of the metal stuffing gland. Here's a step-by-step guide to help you through the process:
Step 1: Turn Off the Equipment
Before you start working on the gland, make sure the equipment it's attached to is turned off and unplugged. This will help prevent any accidents or injuries.
Step 2: Loosen the Bolts
Use your wrenches to loosen the bolts on the gland. Don't remove the bolts completely, just loosen them enough so that you can adjust the position of the gland.
Step 3: Check the Alignment
Use your level to check the alignment of the gland. Place the level on top of the gland and make sure it's level from side to side and front to back. If the gland is not level, you'll need to adjust its position.
Step 4: Adjust the Position
If the gland is not level, you can use shims to adjust its position. Place the shims under the gland at the appropriate locations to raise or lower it as needed. Use your measuring tape to measure the distance between the gland and the equipment it's sealing, and make sure it's consistent all the way around.
Step 5: Tighten the Bolts
Once you've adjusted the position of the gland and it's level, use your wrenches to tighten the bolts. Make sure you tighten the bolts evenly to prevent any further misalignment.
Step 6: Check the Sealing
After you've tightened the bolts, check the sealing of the gland. Turn on the equipment and check for any leaks. If you notice any leaks, you may need to adjust the position of the gland again or replace the gasket.
Tips and Tricks
Here are a few tips and tricks to help you correct the misalignment of a metal stuffing gland more effectively:
- Take Your Time: Correcting the misalignment of a metal stuffing gland can be a time-consuming process, but it's important to take your time and do it right. Rushing through the process can lead to further problems down the road.
- Use the Right Tools: Make sure you use the right tools for the job. Using the wrong tools can damage the gland or the equipment it's attached to.
- Check the Gasket: The gasket is an important part of the sealing system. Make sure it's in good condition and properly installed. If the gasket is damaged or worn, replace it.
- Inspect Regularly: Once you've corrected the misalignment of the gland, it's important to inspect it regularly to make sure it stays in alignment. Check for any signs of wear or damage, and make any necessary adjustments as soon as possible.
Related Products
As a metal stuffing gland supplier, we offer a wide range of products to meet your needs. Here are a few related products that you may be interested in:
- EMC Gland PG Thread: These glands are designed to provide electromagnetic compatibility (EMC) protection for your equipment. They're available in a variety of sizes and materials to suit your specific requirements.
- EMC Gland Metric Thread: Similar to the PG thread glands, these glands are designed to provide EMC protection. They use metric threads, which are commonly used in Europe and other parts of the world.
- Brass PG To Metric Reducer: If you need to connect a PG thread gland to a metric thread pipe, these reducers are the perfect solution. They're made of high-quality brass and are designed to provide a secure and leak-free connection.
Conclusion
Correcting the misalignment of a metal stuffing gland is an important maintenance task that can help prevent leaks, reduce wear and tear, and extend the lifespan of your equipment. By following the steps outlined in this blog post and using the right tools and techniques, you can easily correct the misalignment of your gland and keep your equipment running smoothly.
If you have any questions or need further assistance with your metal stuffing gland, don't hesitate to contact us. We're here to help you find the right solutions for your needs. Whether you're looking for a specific product or need advice on installation and maintenance, our team of experts is ready to assist you. Reach out to us to start a procurement discussion and find out how we can meet your requirements.

References
- "Industrial Sealing Handbook" by John P. Blair
- "Mechanical Seals and Systems" by John Adamson